> ## Documentation Index
> Fetch the complete documentation index at: https://docs.cellulose.ai/llms.txt
> Use this file to discover all available pages before exploring further.
# Setting up your dashboard
> Create your Cellulose account and visualize a model in under 5 minutes.
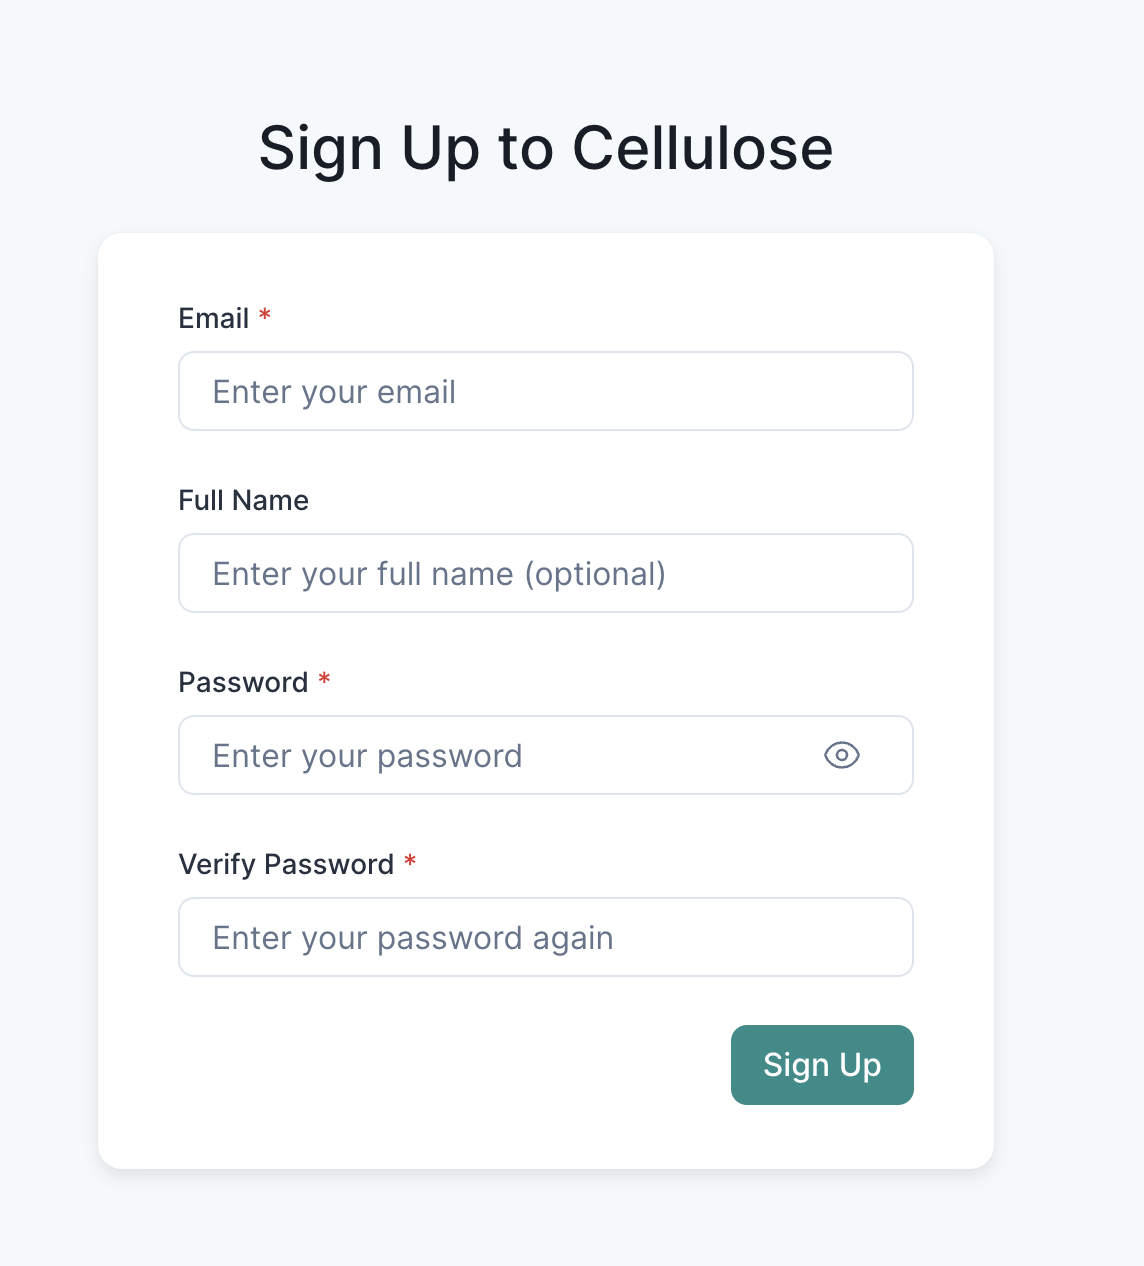
## Creating a Cellulose Account
Let's start by creating an account!
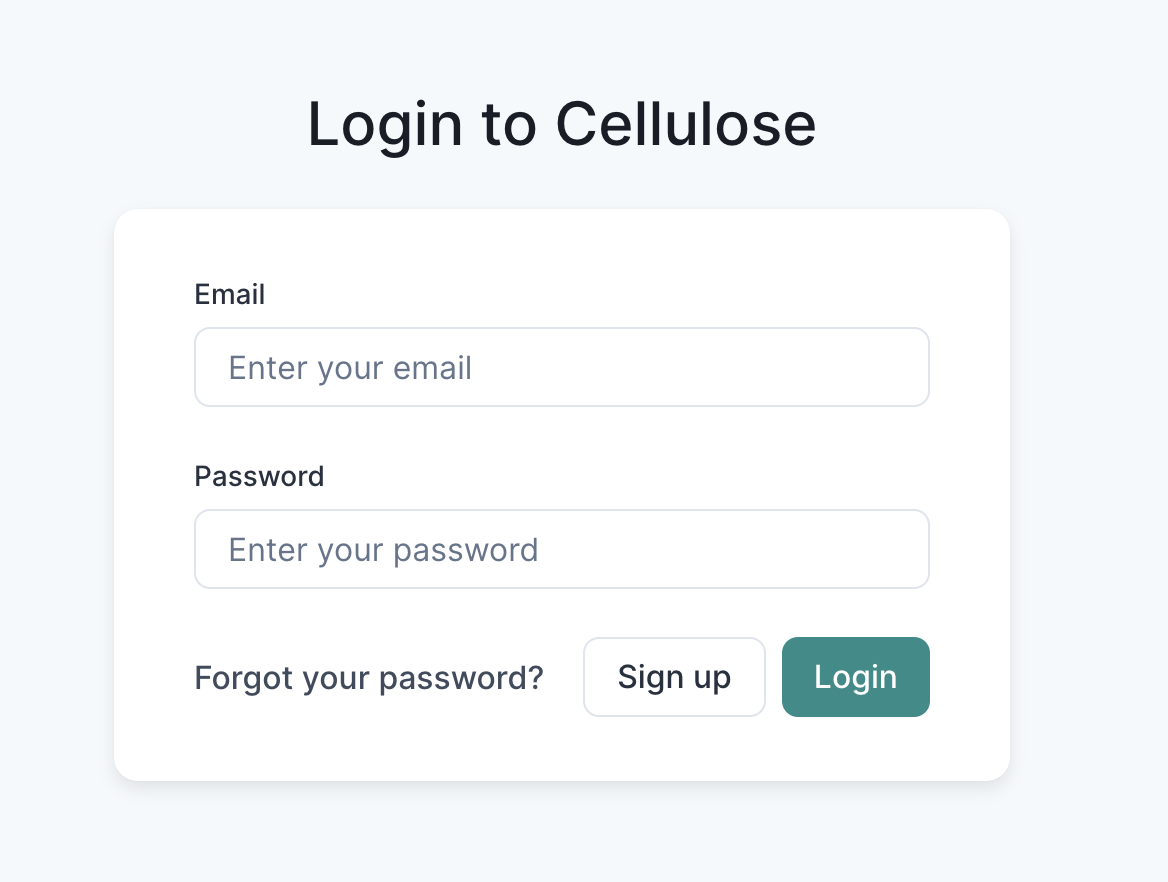
 And log back into Cellulose.
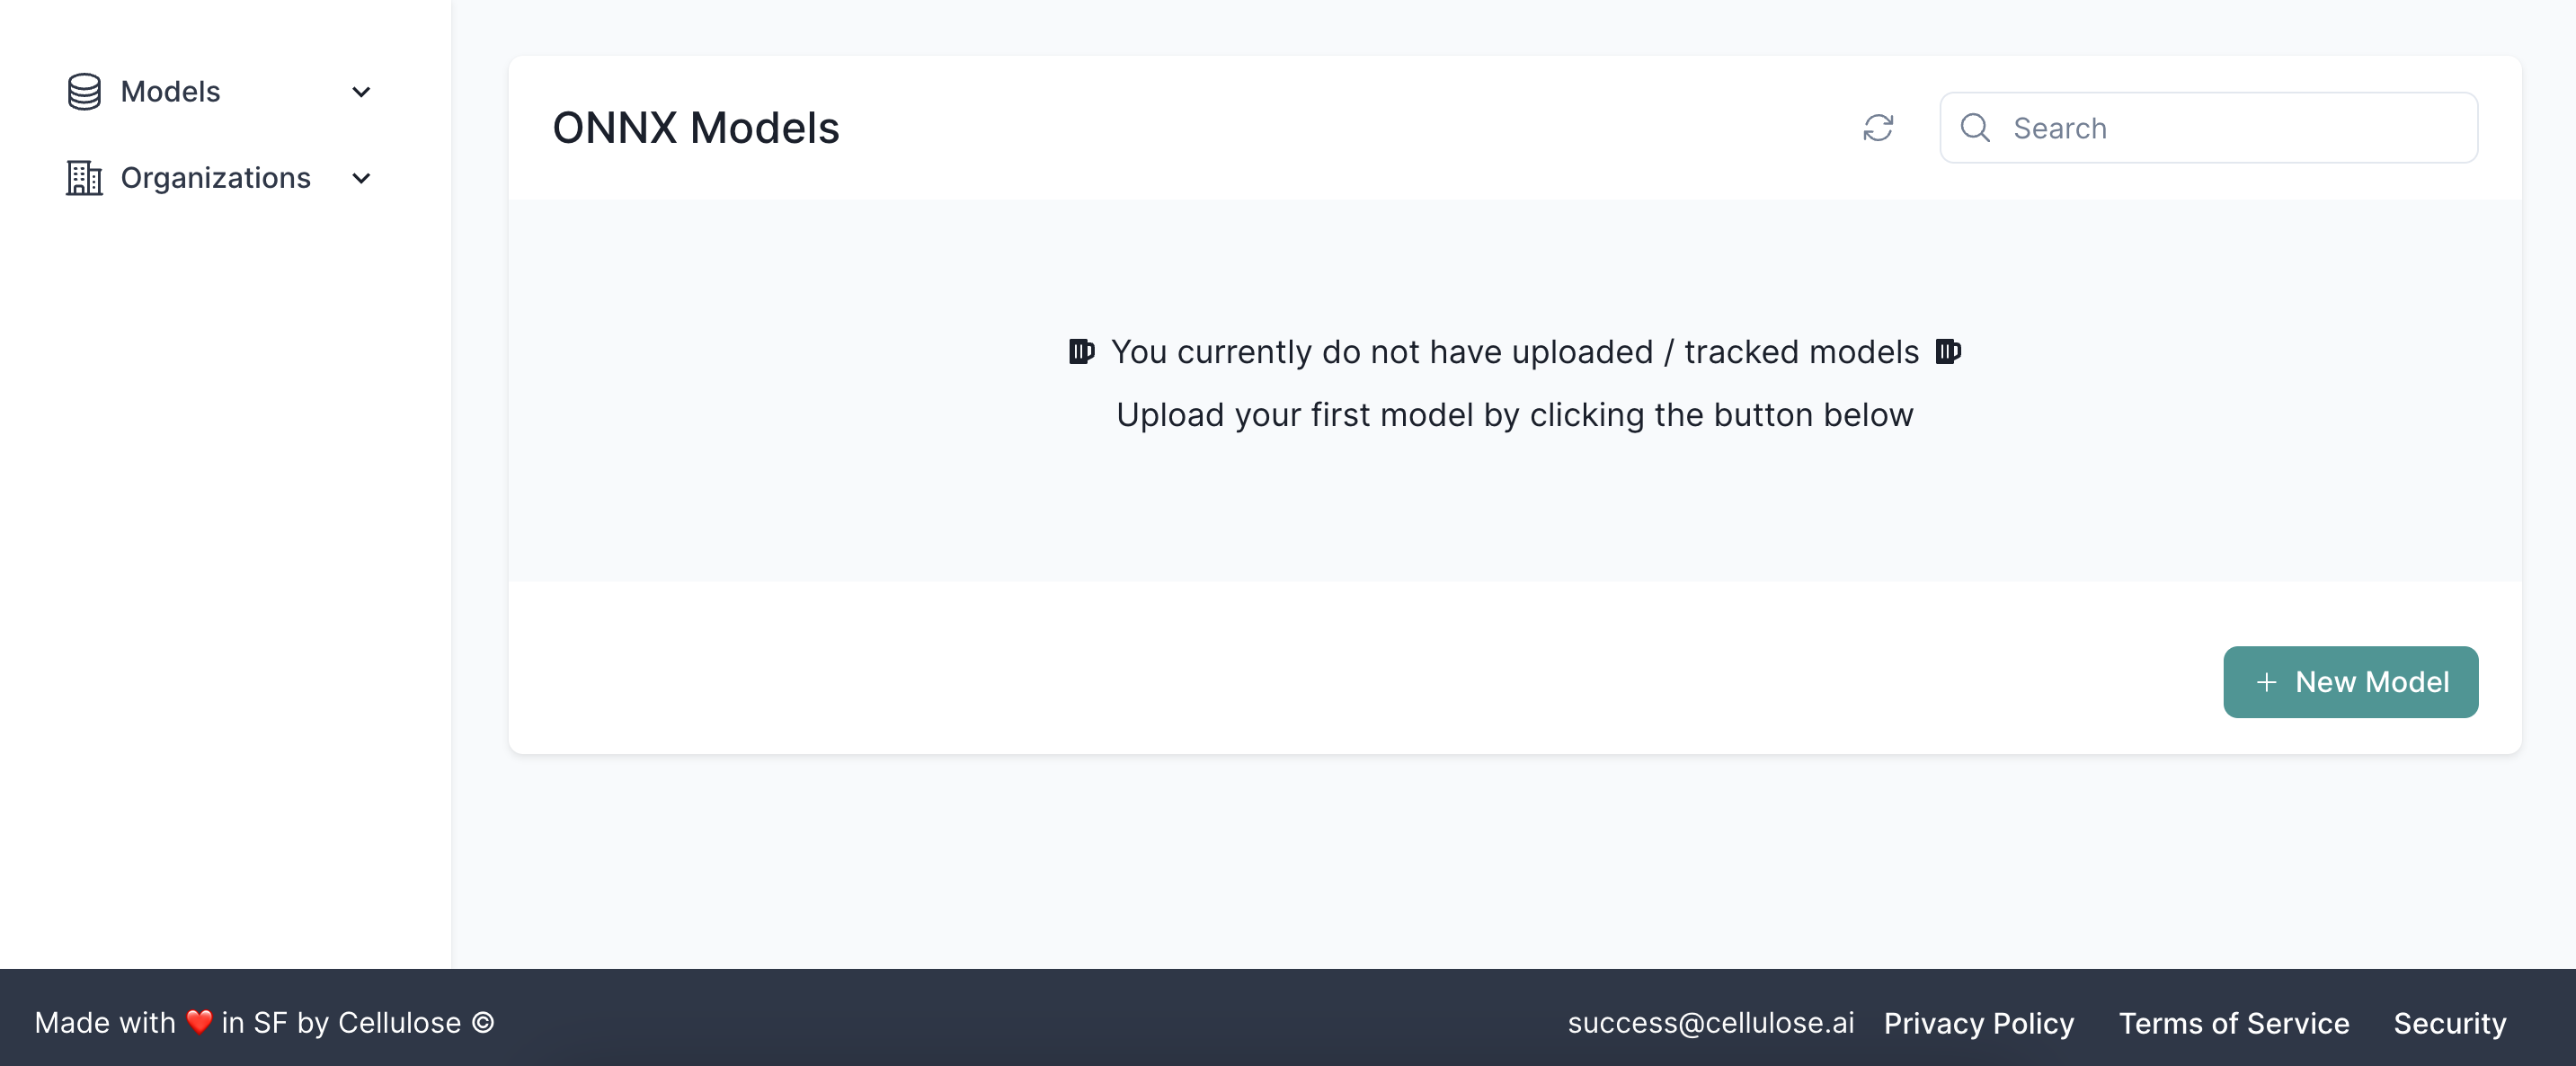
 ## Getting to know your Home Page
All your tracked machine learning models will be displayed here in your home
page.
## Getting to know your Home Page
All your tracked machine learning models will be displayed here in your home
page.
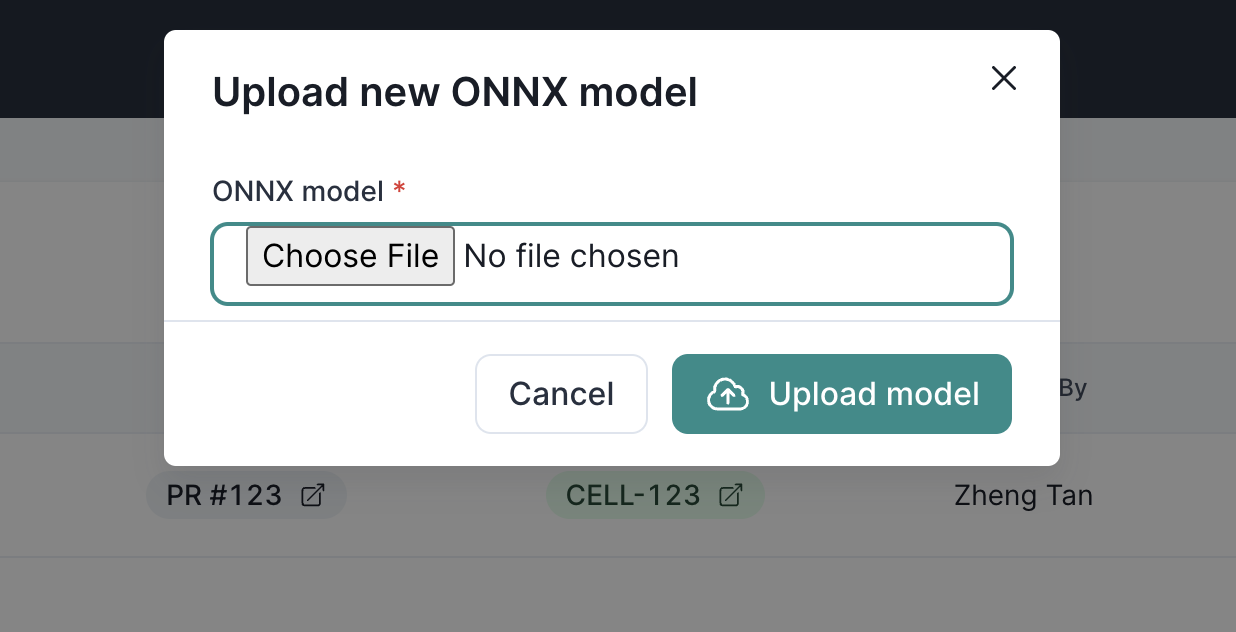
 ## Uploading your first ONNX model
For this example, let's [download a ResNet-18 ONNX file](https://github.com/onnx/models/blob/main/vision/classification/resnet/model/resnet18-v2-7.onnx)
and upload it as your first model.
Click on the "+ New Model" button at the bottom right your dashboard
## Uploading your first ONNX model
For this example, let's [download a ResNet-18 ONNX file](https://github.com/onnx/models/blob/main/vision/classification/resnet/model/resnet18-v2-7.onnx)
and upload it as your first model.
Click on the "+ New Model" button at the bottom right your dashboard
 then upload it in the modal form
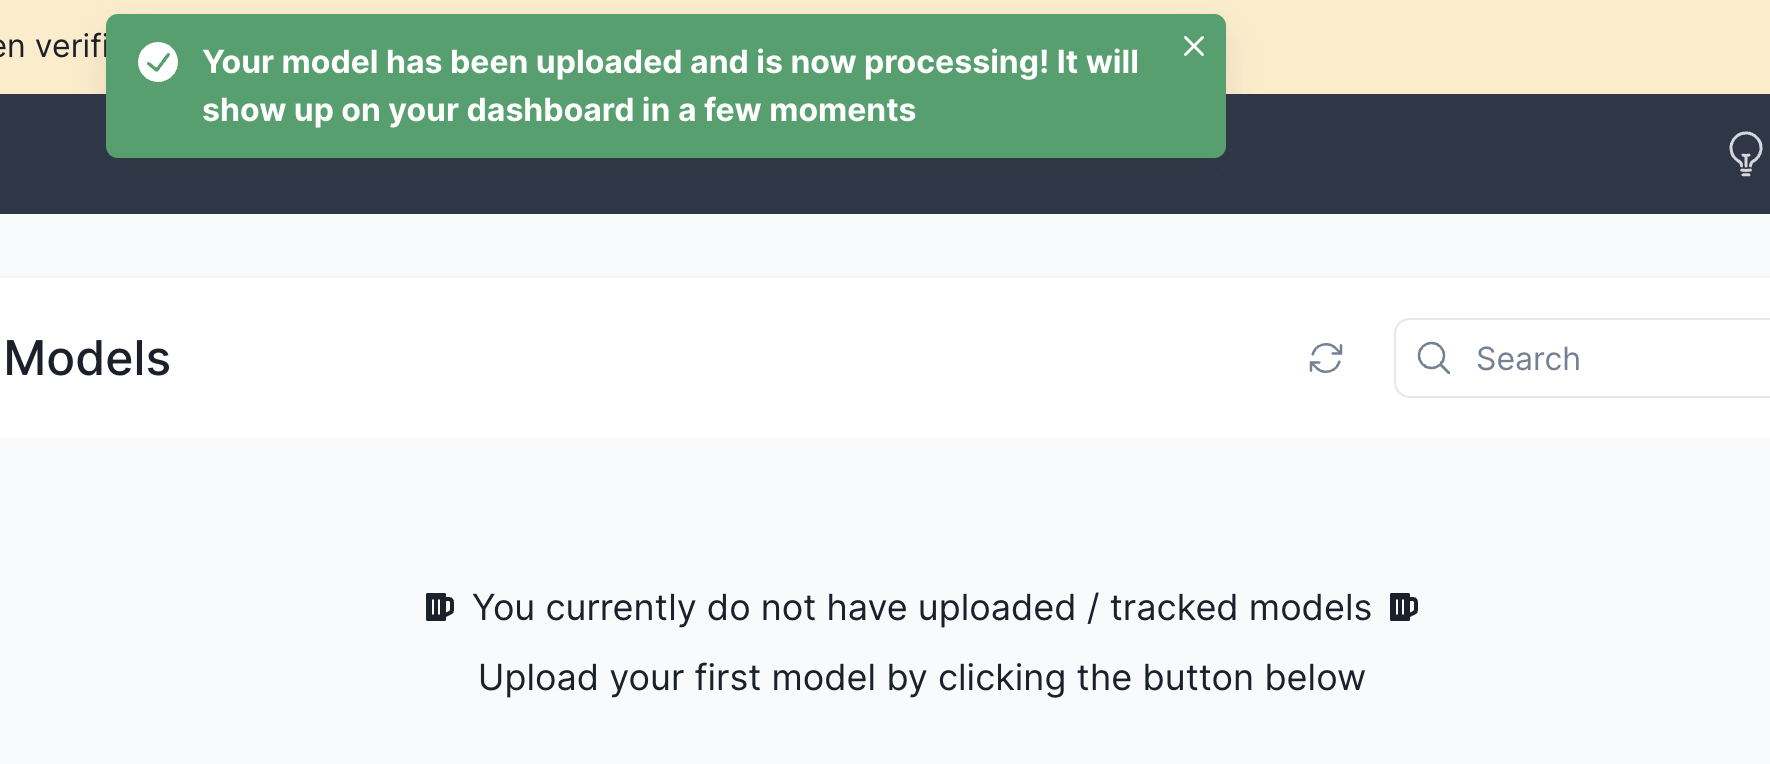 It may take a while before the model shows up in the table view as our
backend workers furiously unroll the ONNX model protobuf. We're working
on improvements to make it faster so stay tuned for more!
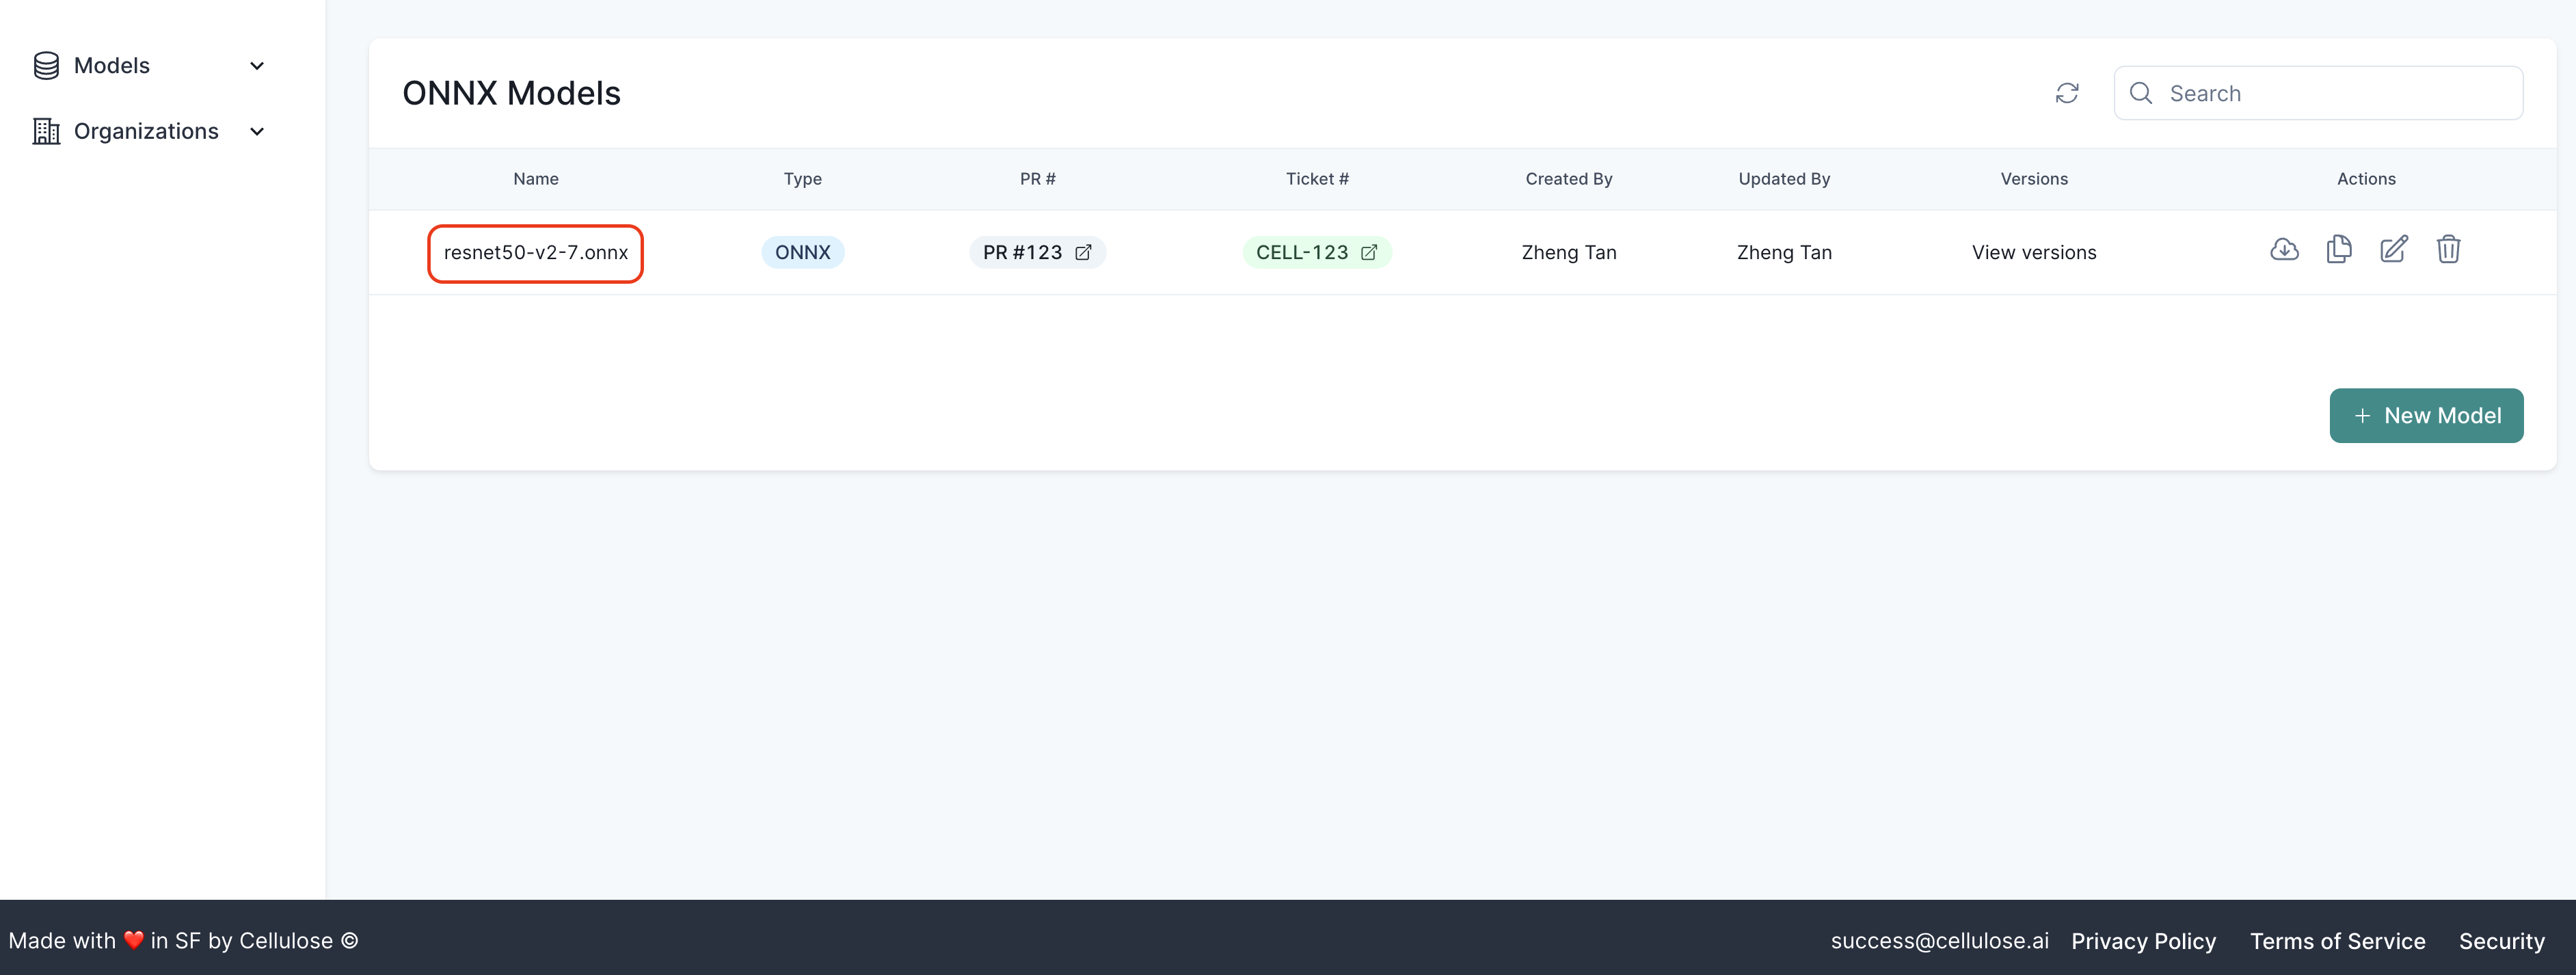
## Visualizing your first ONNX model
Congrats! you've uploaded your first model onto the Cellulose platform!
Let's move on to the fun part - visualizing it :)
Click on the model name to proceed.
It may take a while before the model shows up in the table view as our
backend workers furiously unroll the ONNX model protobuf. We're working
on improvements to make it faster so stay tuned for more!
## Visualizing your first ONNX model
Congrats! you've uploaded your first model onto the Cellulose platform!
Let's move on to the fun part - visualizing it :)
Click on the model name to proceed.
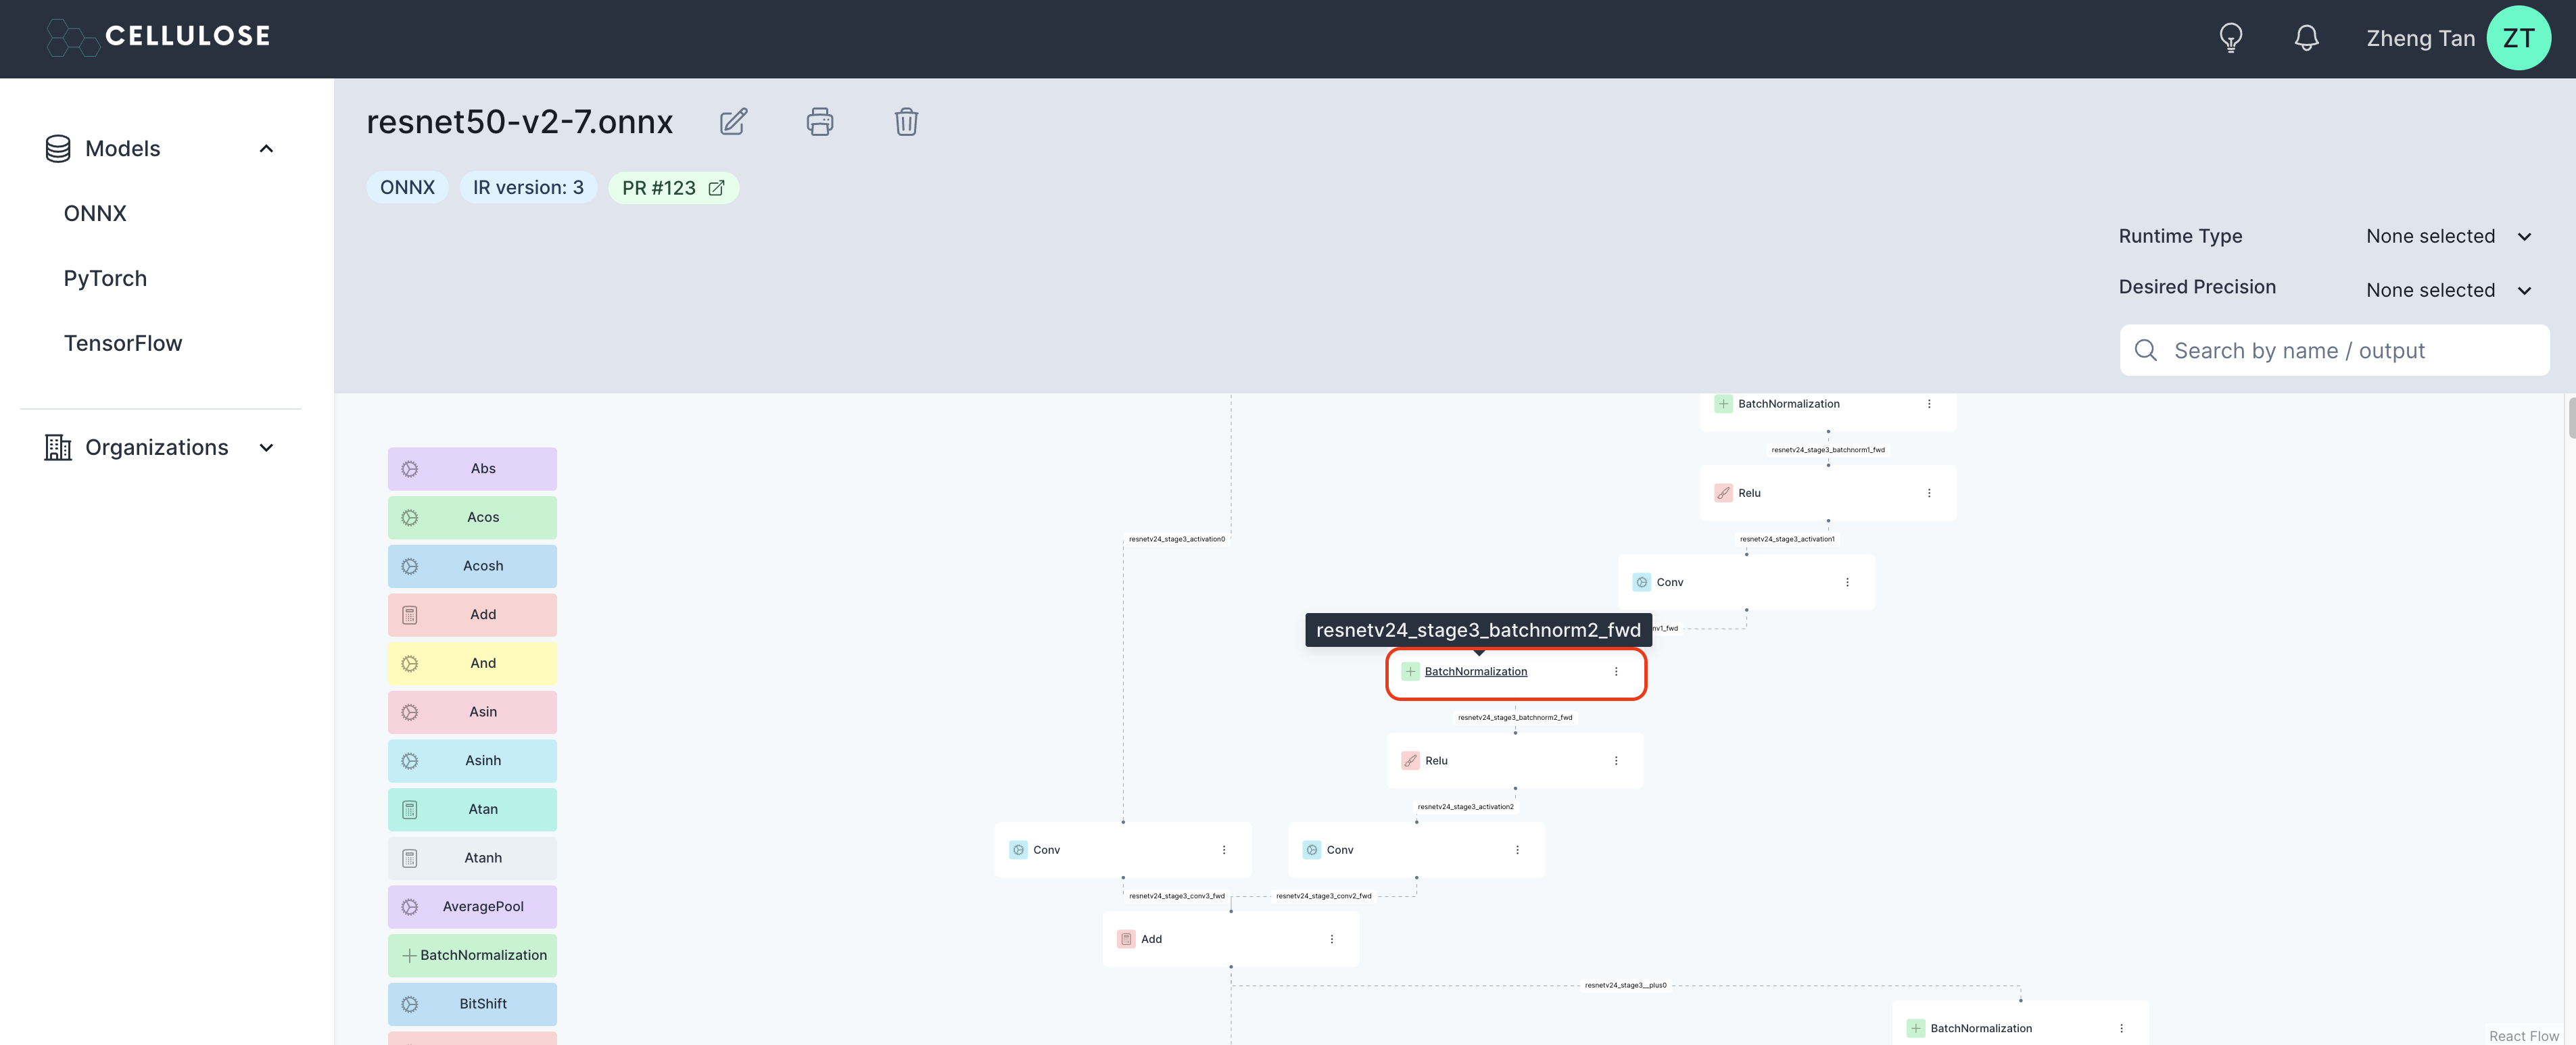
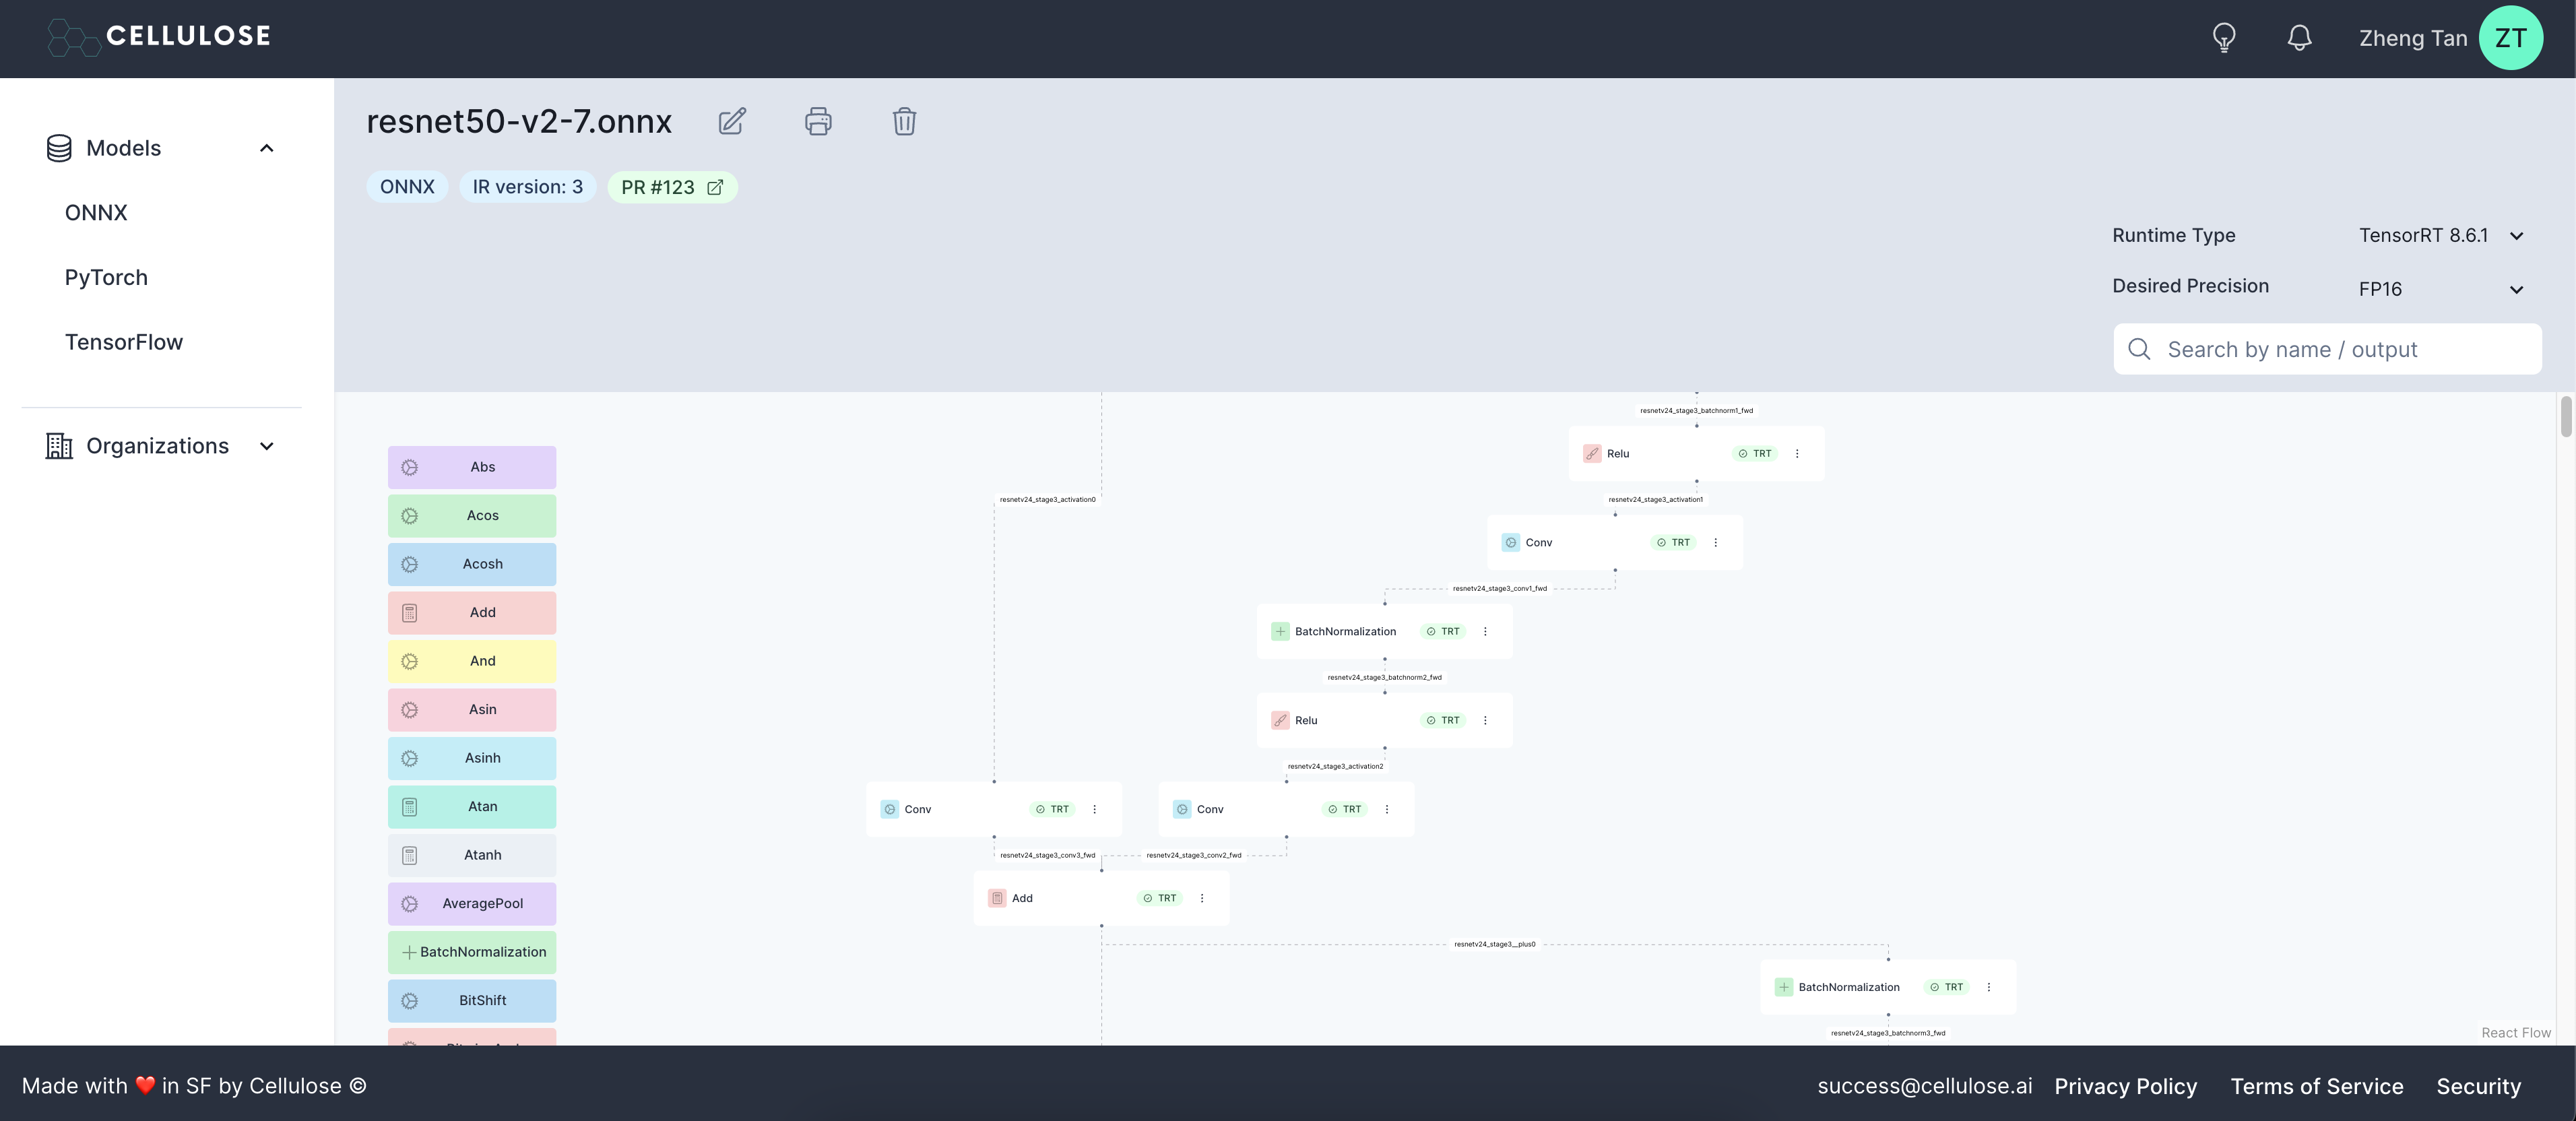 You'll now see the ONNX graph being rendered, where an output of a given node
serve as input(s) to others in a graph runtime.
## Inspecting a Node
You may click on the node itself to gather more details about the node.
You'll now see the ONNX graph being rendered, where an output of a given node
serve as input(s) to others in a graph runtime.
## Inspecting a Node
You may click on the node itself to gather more details about the node.
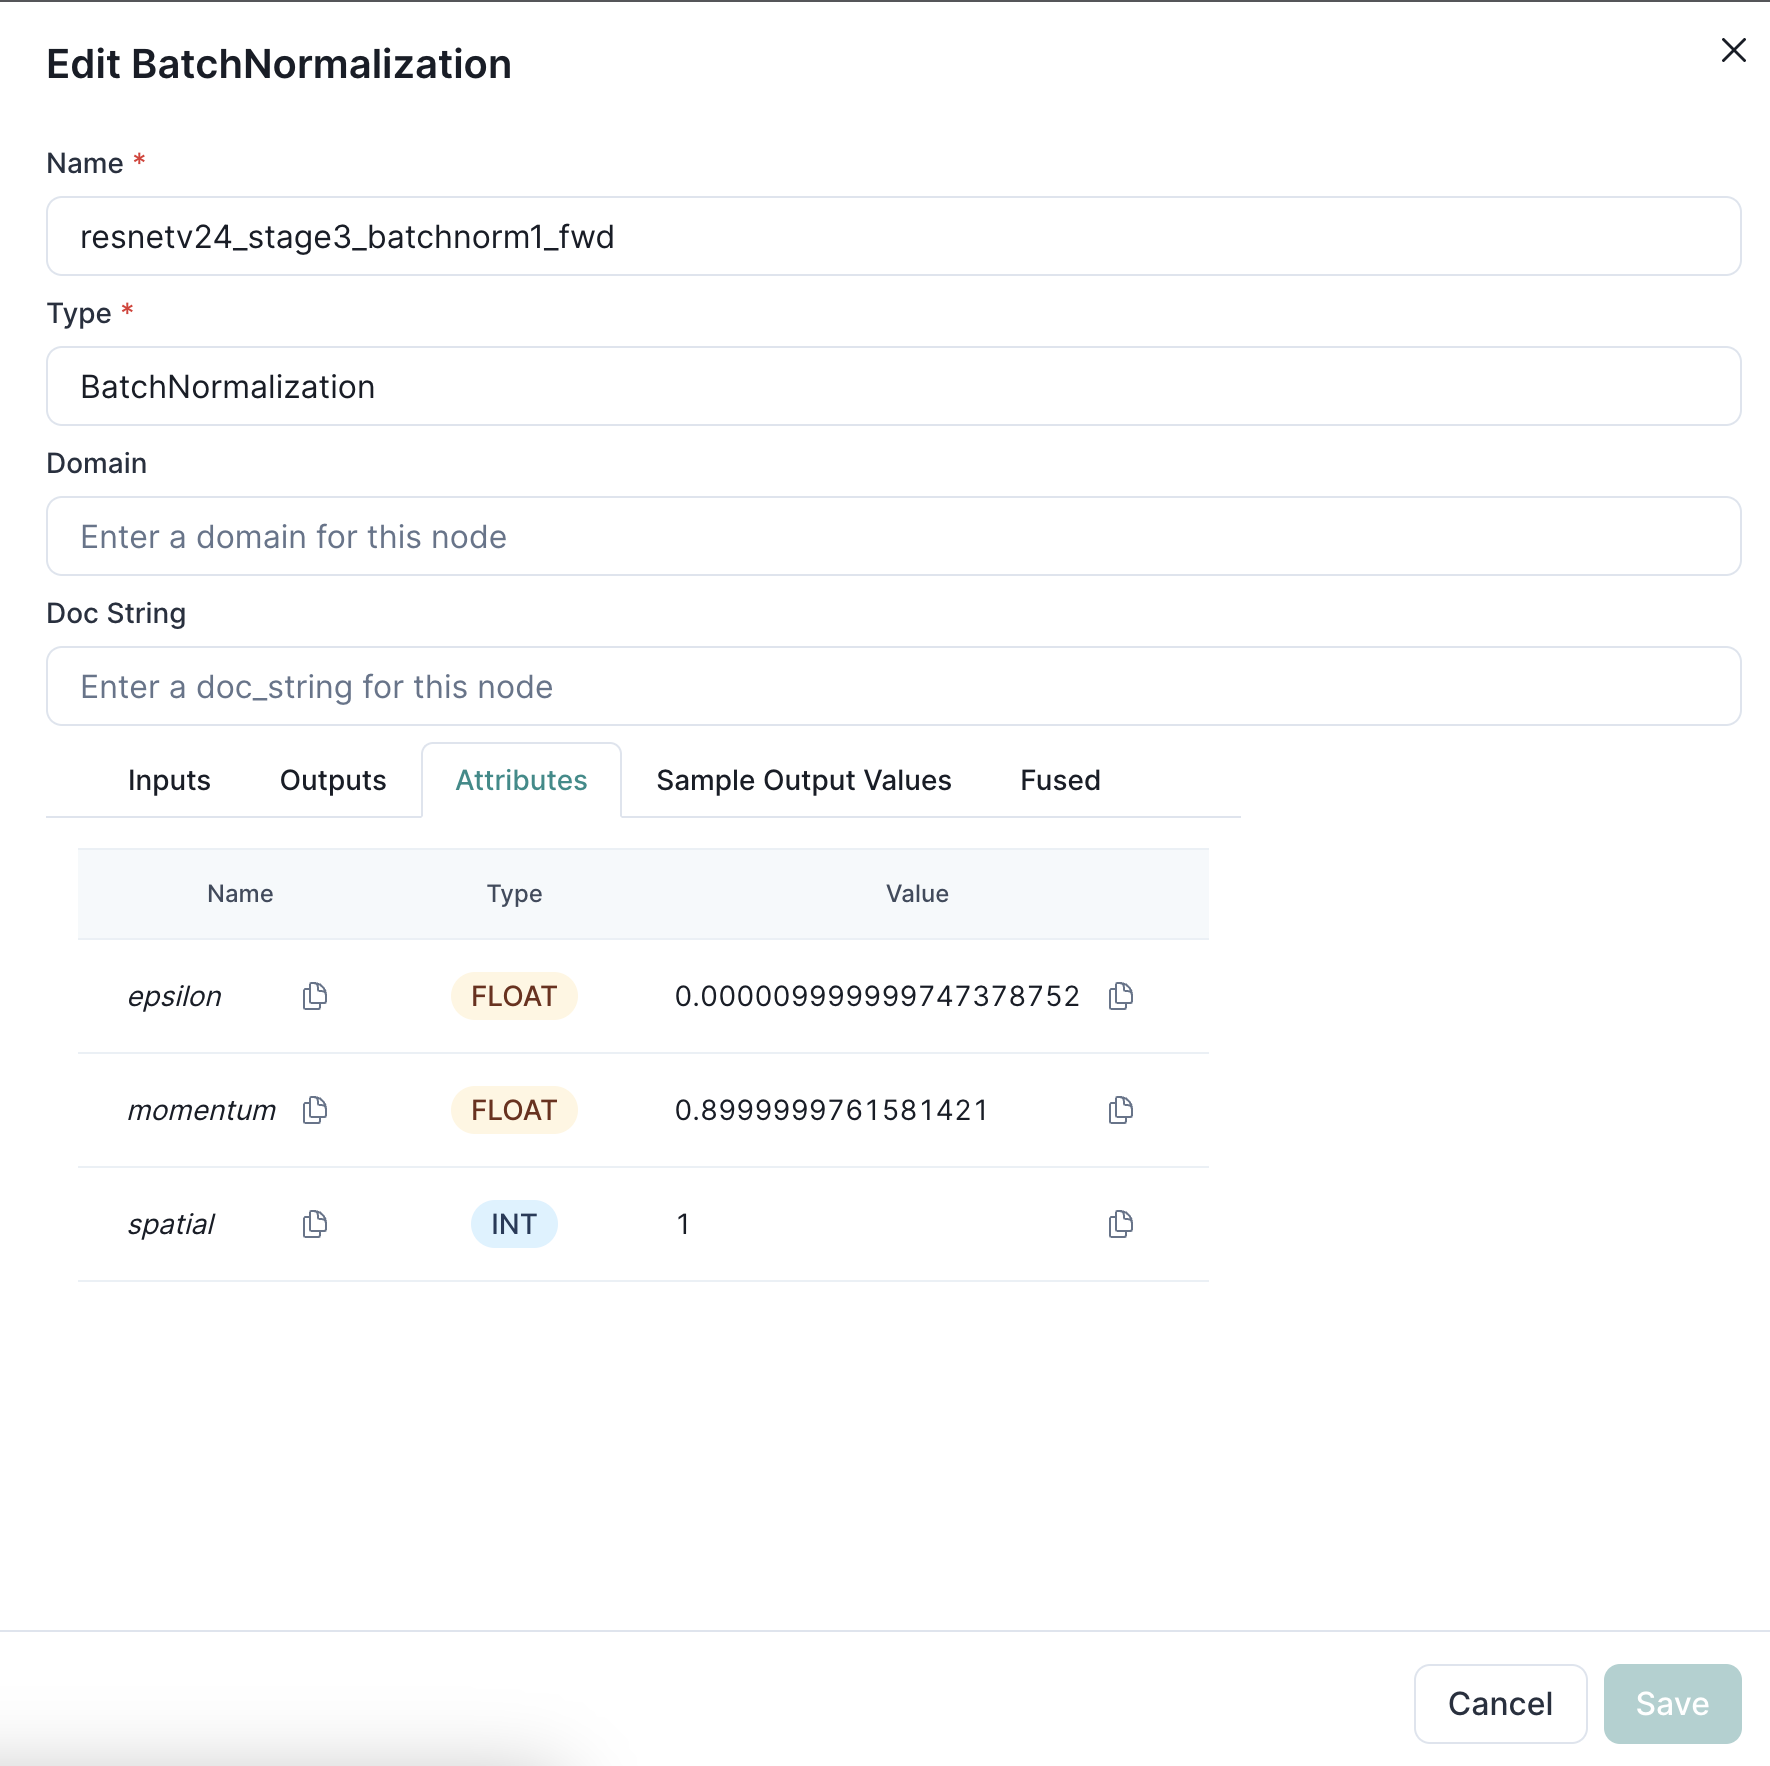
 A drawer should slide out from the right where you'll also get basic
information such as its `name`, `domain` or `doc string`, if present.
A drawer should slide out from the right where you'll also get basic
information such as its `name`, `domain` or `doc string`, if present.
 ## Understanding Node Inputs / Outputs / Attributes
Let's dive a little deeper into all the inputs and outputs associated with a
BatchNormalization operation below as an example.
We tried to make this a little simpler by organizing them into tabs. As of this
writing, these are *Inputs*, *Outputs*, *Attributes*, *Sample Output Values* and
*Fused*.
We'll go into each of them in the sections below.
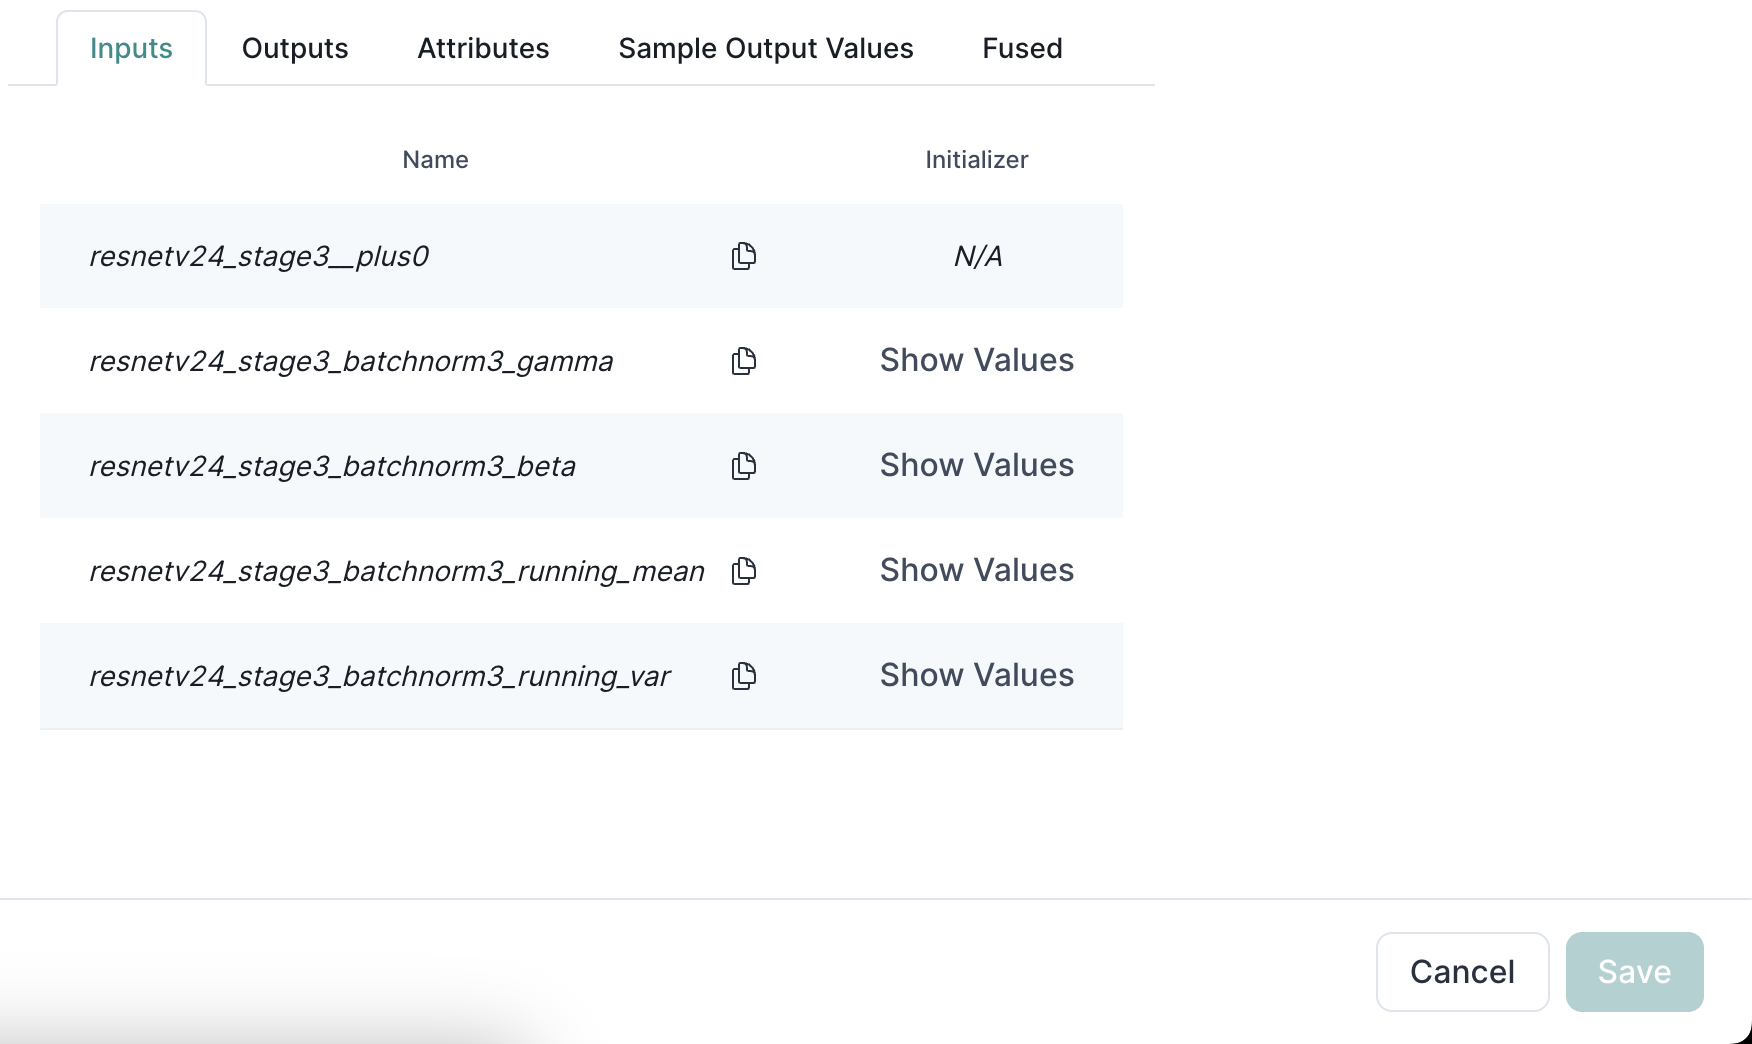
Each operator will always have a set of input(s) and output(s). The input(s)
of a node may consist of:
1. Tensor initializers with real values, and/or
2. An input that happen to also be the output of an upstream node.
## Understanding Node Inputs / Outputs / Attributes
Let's dive a little deeper into all the inputs and outputs associated with a
BatchNormalization operation below as an example.
We tried to make this a little simpler by organizing them into tabs. As of this
writing, these are *Inputs*, *Outputs*, *Attributes*, *Sample Output Values* and
*Fused*.
We'll go into each of them in the sections below.
Each operator will always have a set of input(s) and output(s). The input(s)
of a node may consist of:
1. Tensor initializers with real values, and/or
2. An input that happen to also be the output of an upstream node.
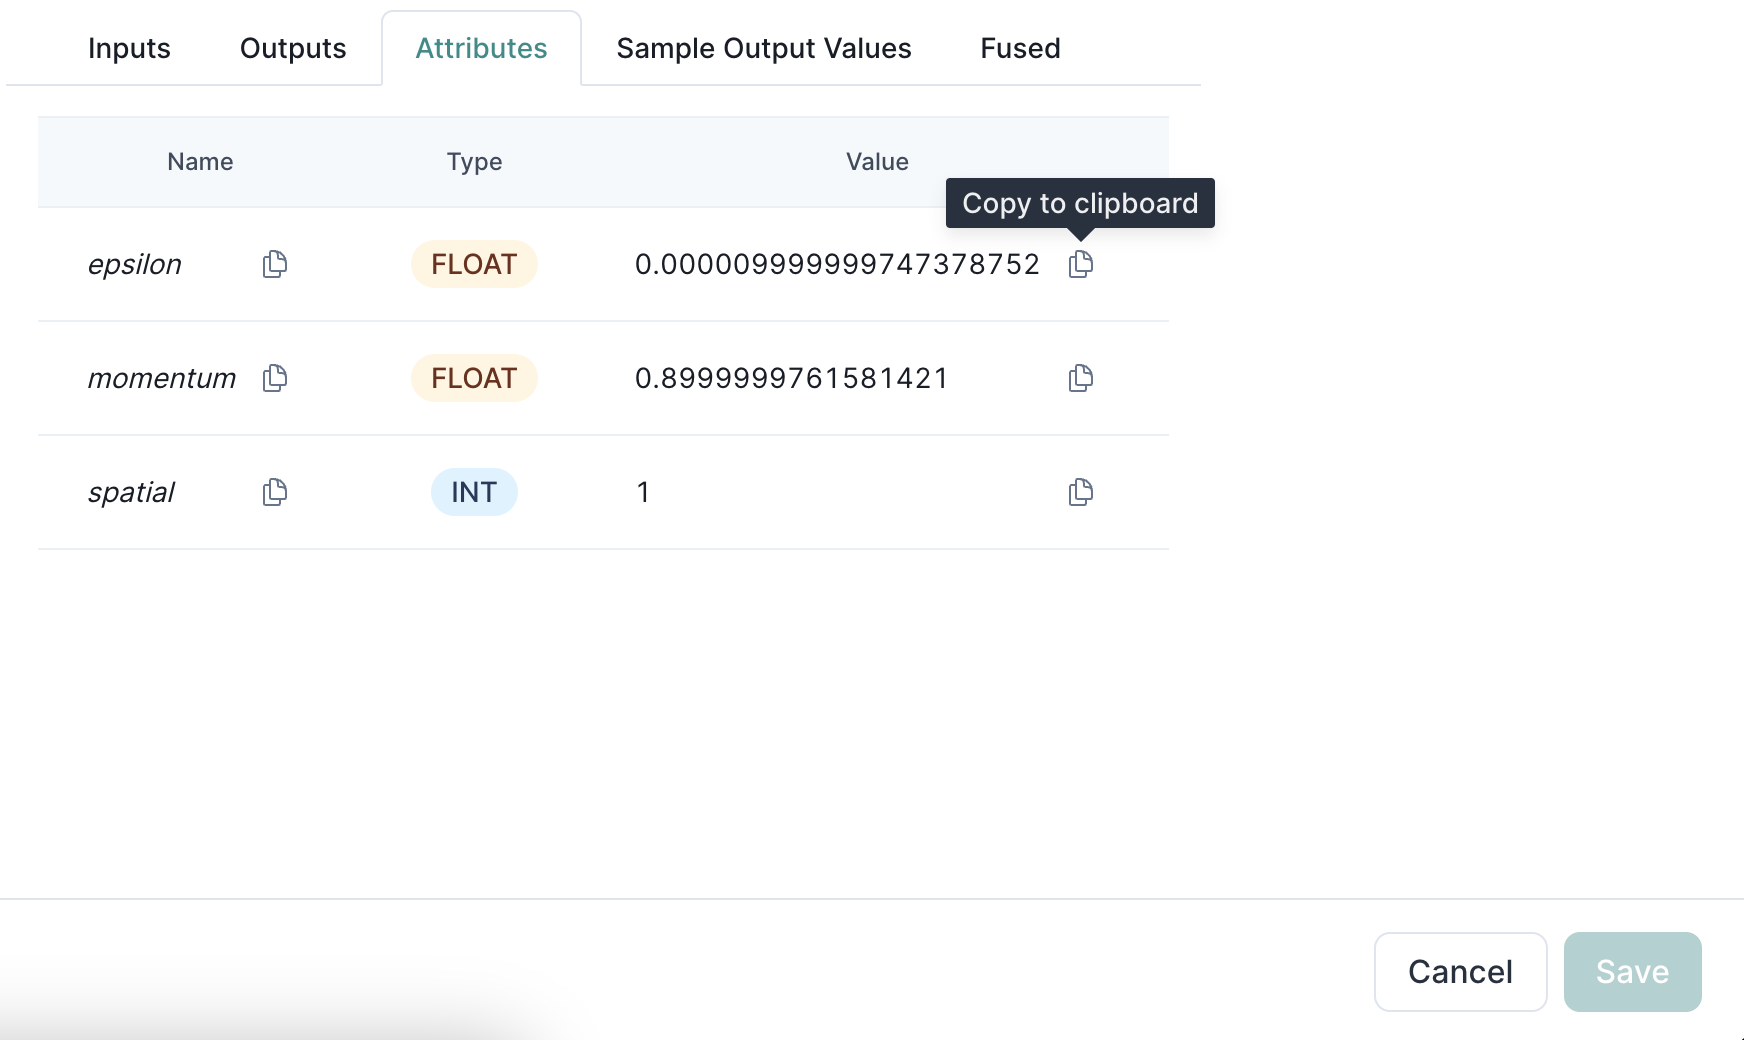
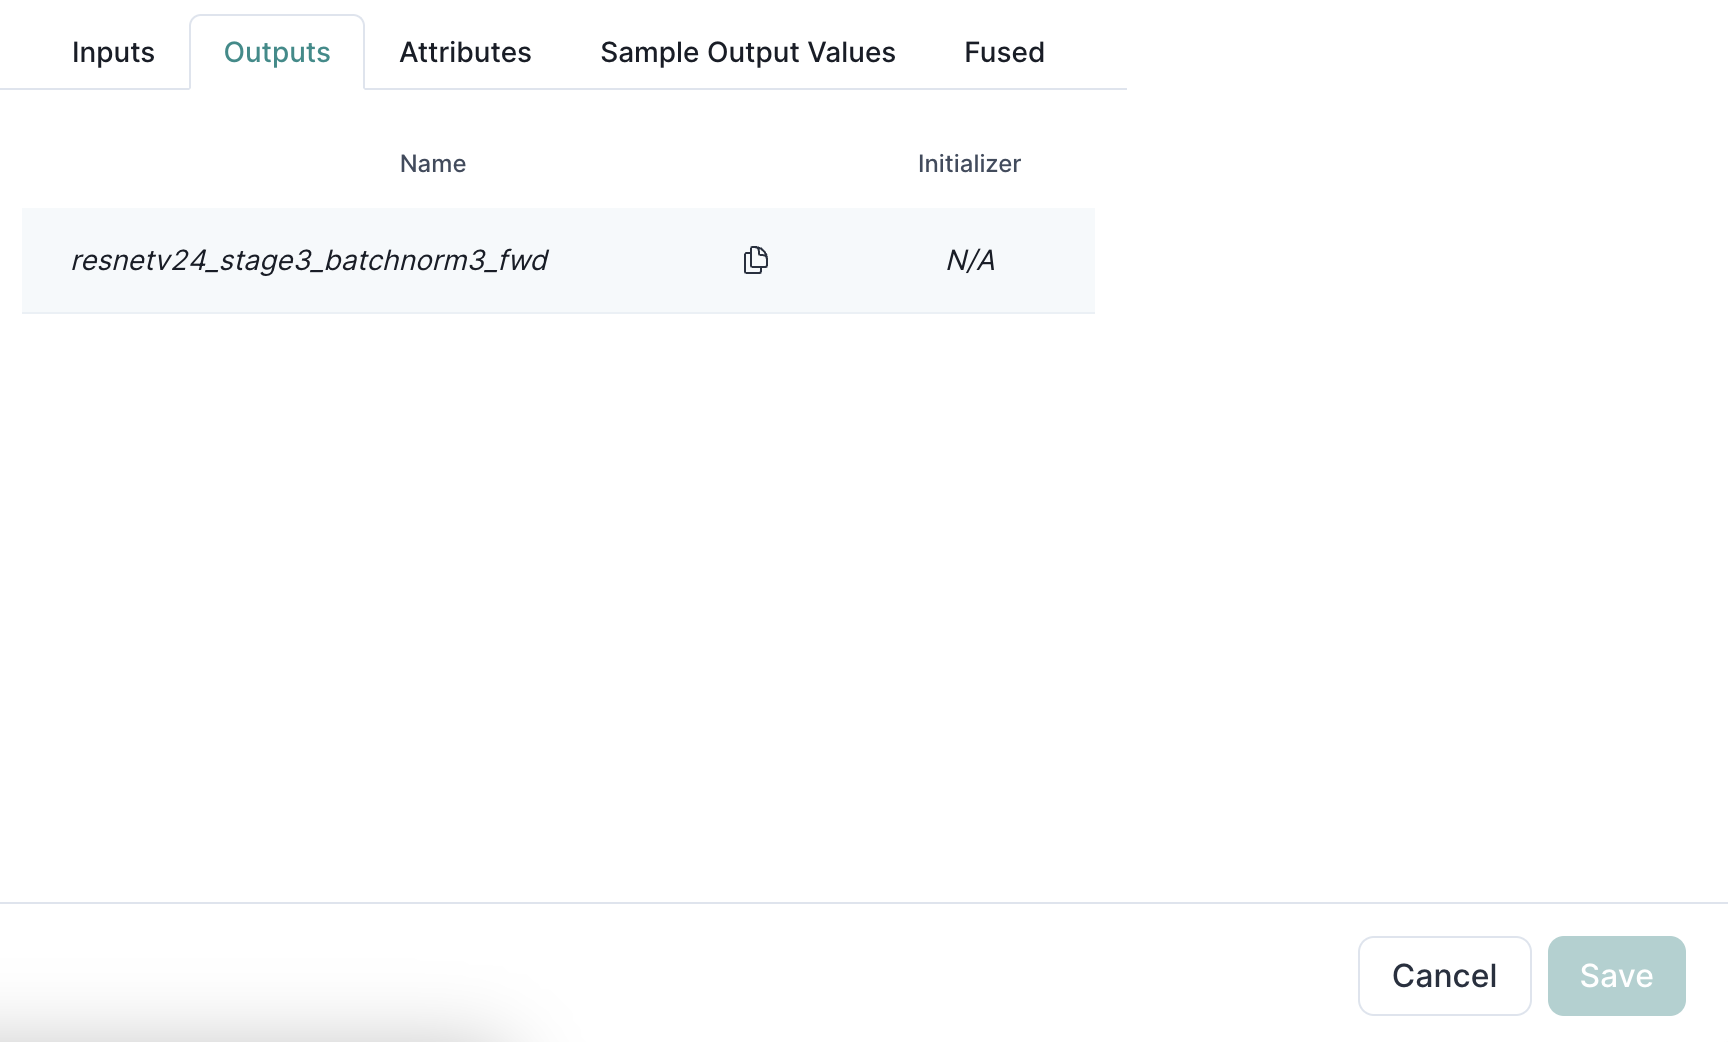 Some nodes / operators will also have attributes like in this BatchNormalization
example:
Some nodes / operators will also have attributes like in this BatchNormalization
example:
 ## Viewing / Copying Node Initializer Values
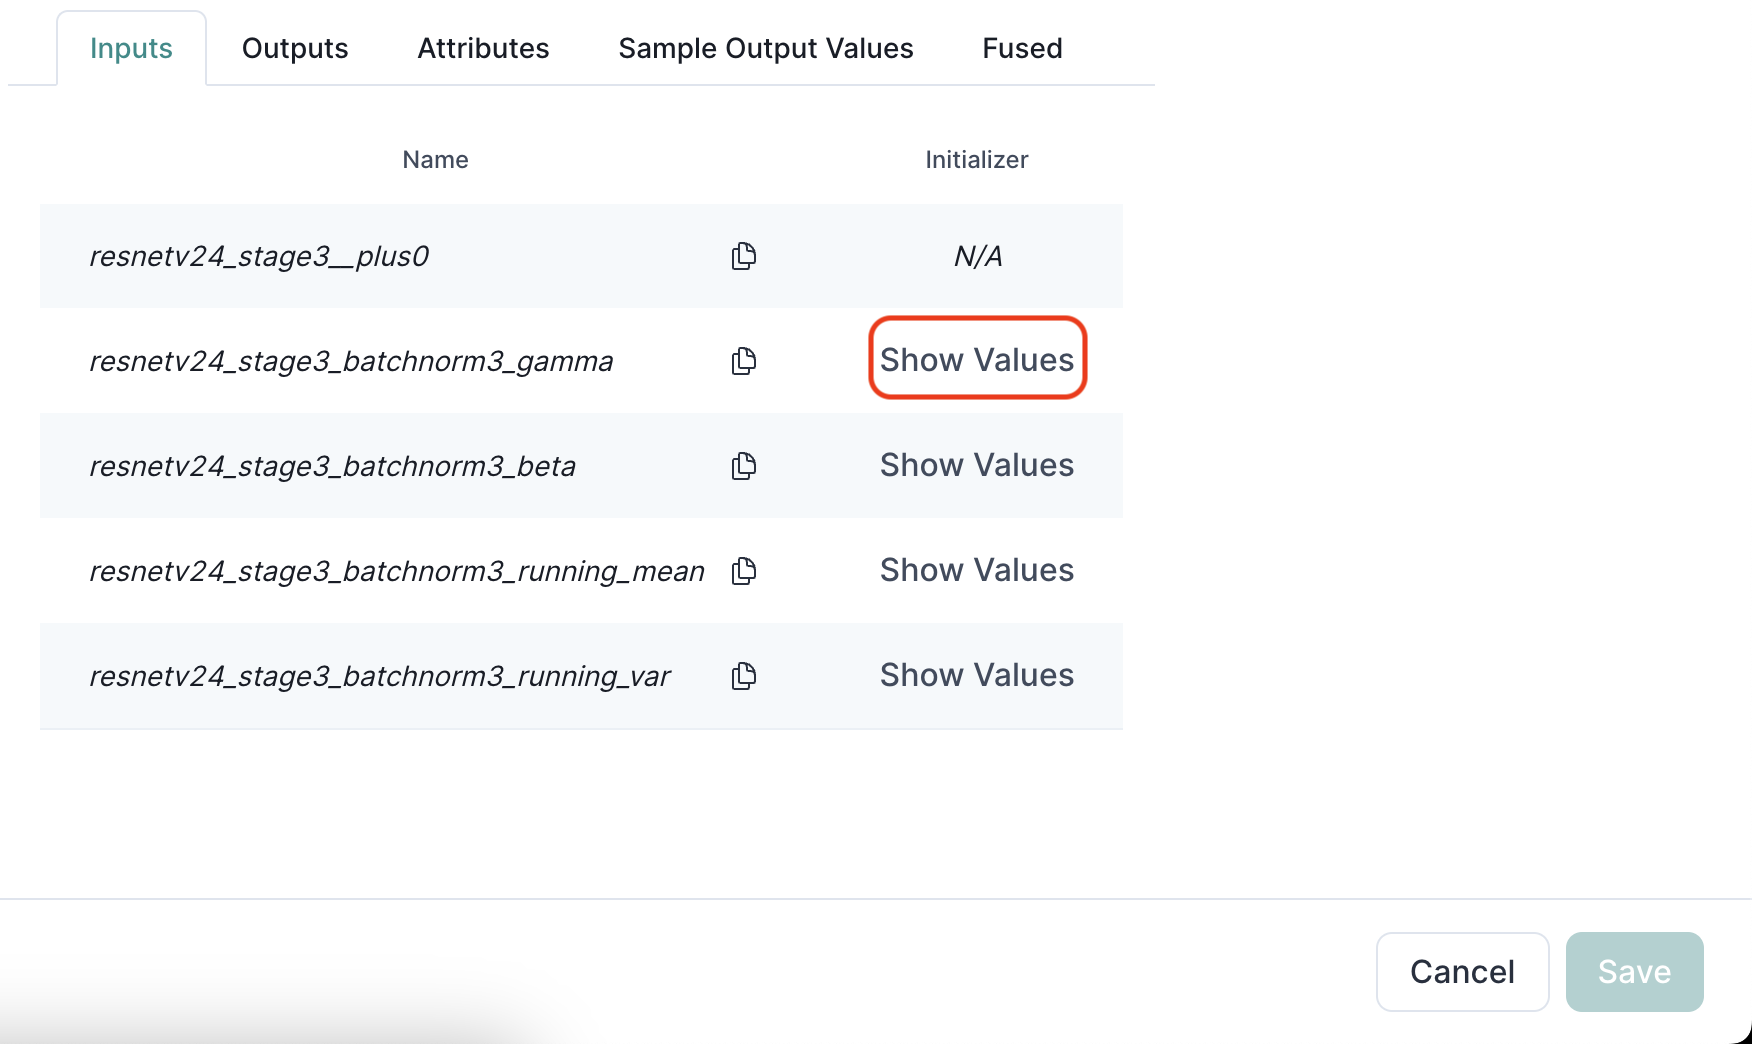
Click on the "Show Values" of one of the inputs
## Viewing / Copying Node Initializer Values
Click on the "Show Values" of one of the inputs
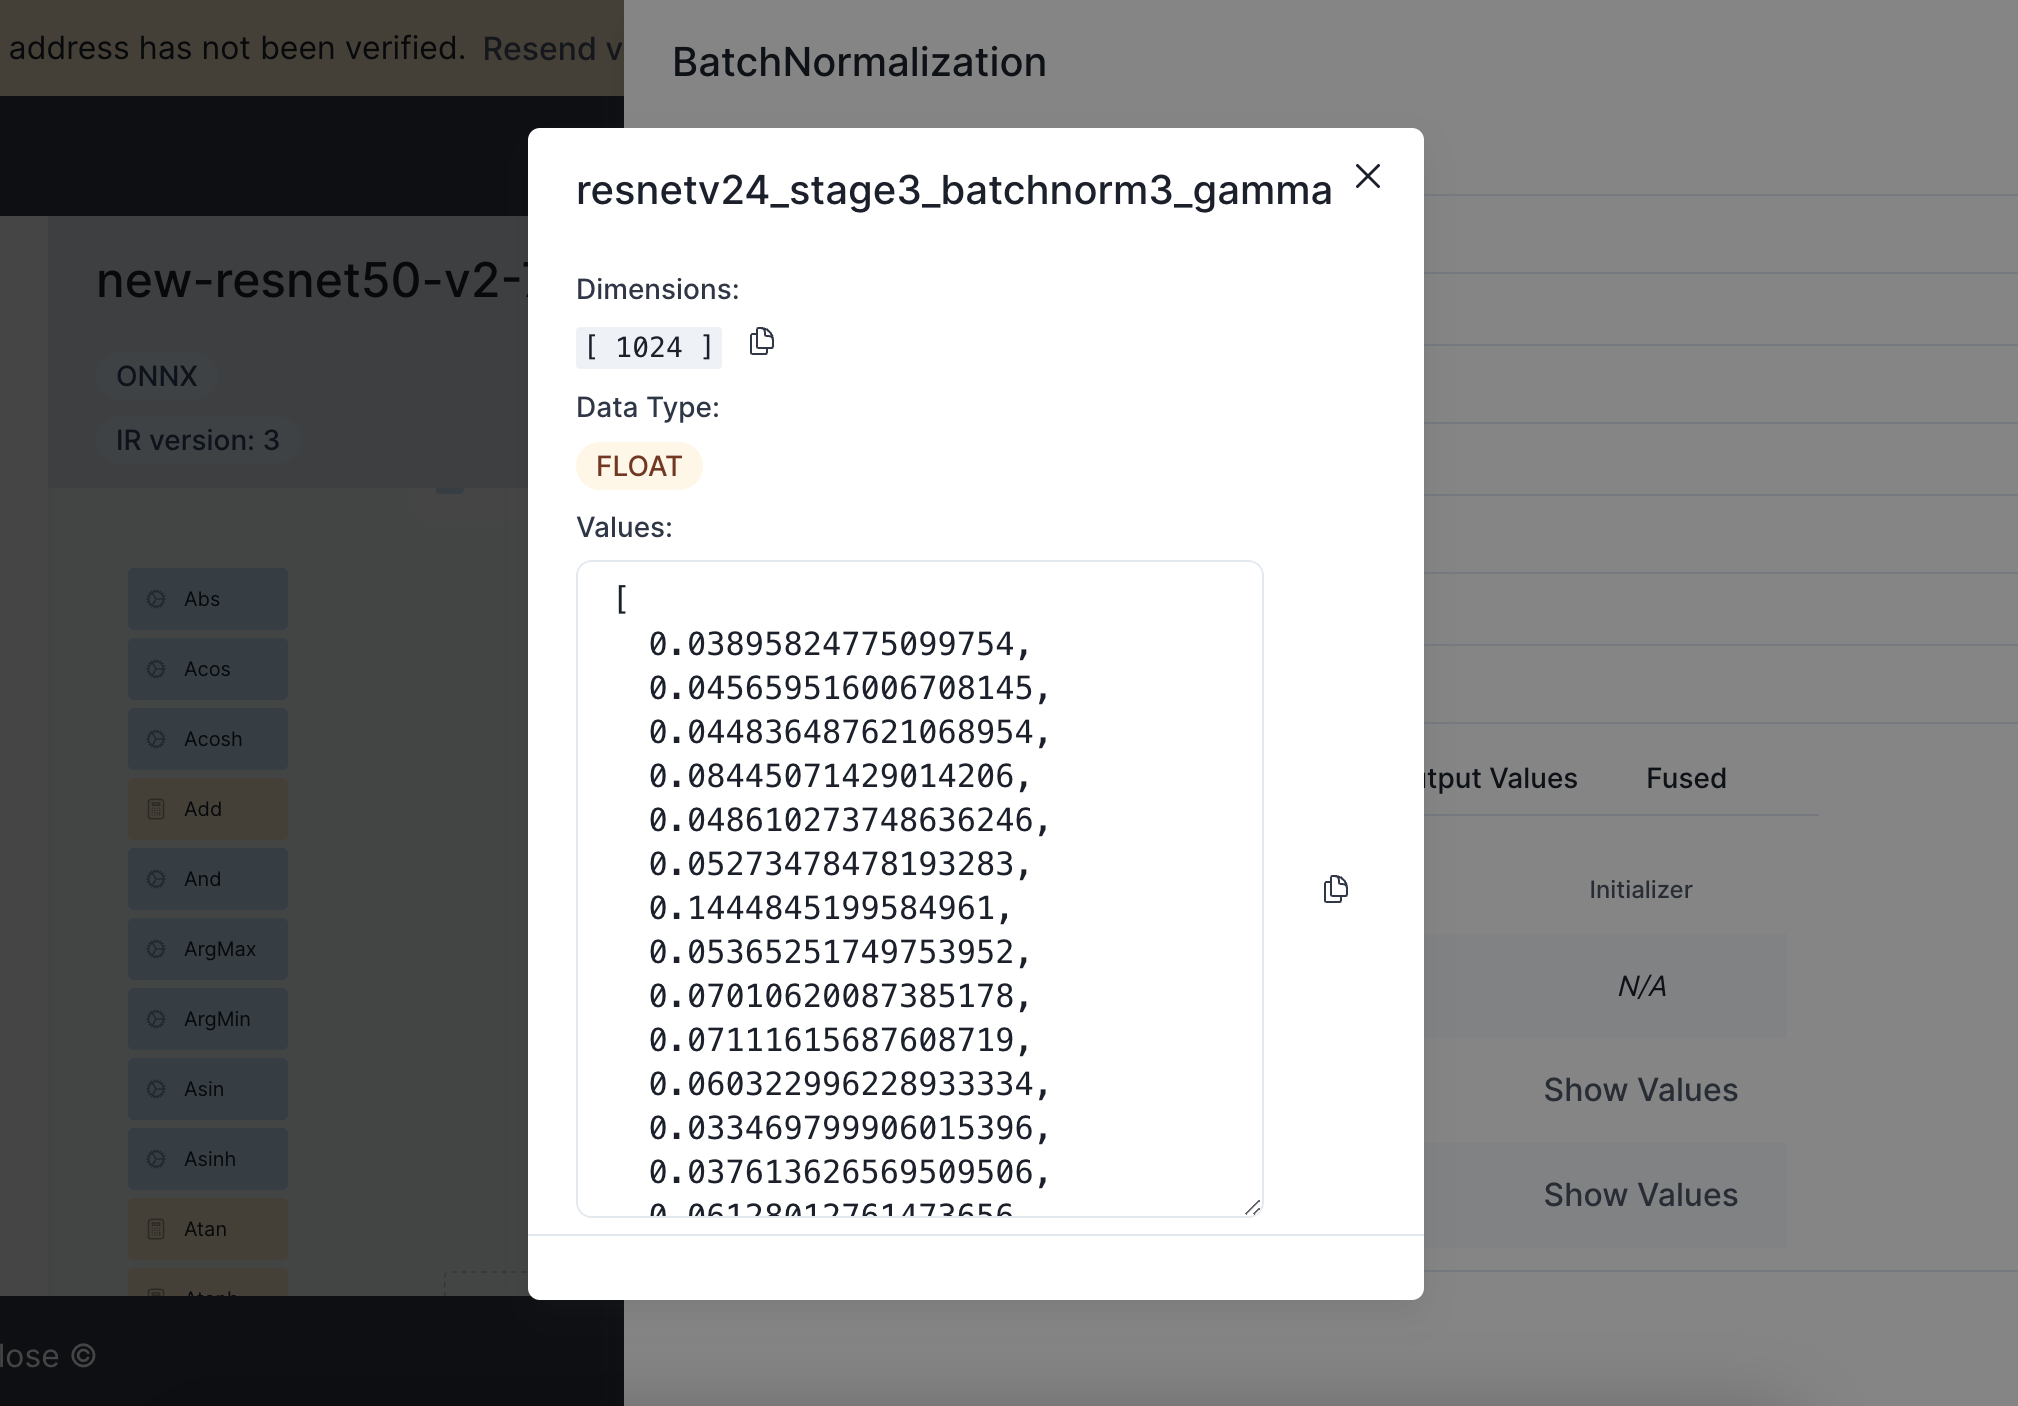
 This should bring up a modal overlay with even more details about that
particular initializer.
This should bring up a modal overlay with even more details about that
particular initializer.
 Well done! Now you've dabbled with the core functionalities of the Cellulose
dashboard. Feel free to browse the other documentation sections for more details.
## Have questions / need help?
Please reach out to [support@cellulose.ai](mailto:support@cellulose.ai), and we'll get back to you as soon
as possible.
Well done! Now you've dabbled with the core functionalities of the Cellulose
dashboard. Feel free to browse the other documentation sections for more details.
## Have questions / need help?
Please reach out to [support@cellulose.ai](mailto:support@cellulose.ai), and we'll get back to you as soon
as possible.