The easiest and quickest way to upload your PyTorch models onto the Cellulose dashboard is via our Python SDK.

Installation

Let’s start by installing it with pip:

Installing via pip
pip install cellulose-sdk

While the Python SDK doesn’t currently require PyTorch 2.0 (torch > 2.0.0), some of our future SDK features will require it as we’ll start using many of the new PyTorch 2.0 APIs / IRs such as .compile().

Add Cellulose decorator to your nn.Module

Let’s create a new Python script that contains a simple nn.Module that we eventually want to export and upload to the dashboard.

First, let’s import everything we’ll need in the later steps:

Cellulose imports
# Third party imports
import torch.onnx
import torch.utils.model_zoo as model_zoo
from torch import nn
from torch.nn import init

# Cellulose imports
from cellulose.api.cellulose_context import CelluloseContext
from cellulose.decorators.cellulose import Cellulose

We’ll first use the Cellulose decorator and come back to CelluloseContext in a later section.

Decorate the SuperResolutionNet module with the Cellulose decorator, then provide the input_names and output_names arguments:

@Cellulose(
    input_names=["input"],
    output_names=["output"],
)
class SuperResolutionNet(nn.Module):
    def __init__(self, upscale_factor, inplace=False):
        super(SuperResolutionNet, self).__init__()

        self.relu = nn.ReLU(inplace=inplace)
        self.conv1 = nn.Conv2d(1, 64, (5, 5), (1, 1), (2, 2))
        self.conv2 = nn.Conv2d(64, 64, (3, 3), (1, 1), (1, 1))
        self.conv3 = nn.Conv2d(64, 32, (3, 3), (1, 1), (1, 1))
        self.conv4 = nn.Conv2d(32, upscale_factor**2, (3, 3), (1, 1), (1, 1))
        self.pixel_shuffle = nn.PixelShuffle(upscale_factor)

        self._initialize_weights()

    def forward(self, x):
        x = self.relu(self.conv1(x))
        x = self.relu(self.conv2(x))
        x = self.relu(self.conv3(x))
        x = self.pixel_shuffle(self.conv4(x))
        return x

    def _initialize_weights(self):
        init.orthogonal_(self.conv1.weight, init.calculate_gain("relu"))
        init.orthogonal_(self.conv2.weight, init.calculate_gain("relu"))
        init.orthogonal_(self.conv3.weight, init.calculate_gain("relu"))
        init.orthogonal_(self.conv4.weight)

Now that we’ve defined the model, let’s instantiate it as torch_model, call load_state_dict and set it to eval mode:

Initialization and export
if __name__ == "__main__":
    # Create the super-resolution model by using the above model definition.
    torch_model = SuperResolutionNet(upscale_factor=3)

    BATCH_SIZE = 10
    # Load pretrained model weights
    model_url = "https://s3.amazonaws.com/pytorch/test_data/export/superres_epoch100-44c6958e.pth"

    # Initialize model with the pretrained weights
    map_location = lambda storage, loc: storage  # noqa: E731
    if torch.cuda.is_available():
        map_location = None
    torch_model.load_state_dict(
        model_zoo.load_url(model_url, map_location=map_location)
    )

    # set the model to inference mode
    torch_model.eval()

Create an input tensor

Model input
input_tensor = torch.randn(10, 1, 224, 224, requires_grad=True)

Instantiate a CelluloseContext

Now let’s create a CelluloseContext and pass in a personal API key. You can read more on how to create / retrieve your API keys here.

cellulose_context = CelluloseContext("YOUR_API_KEY")

We generally do not recommend setting these API keys in plain text for security reasons. It’s better to handle it via a secrets manager like AWS Secrets Manager or Doppler then have it injected as an environment variable.

Export and upload the model to the dashboard

We just provide the torch_model module and the input tensor to CelluloseContext’s export() method like below:

cellulose_context.export(
    torch_model=torch_model,
    input=input_tensor,
)

This step would handle the model upload automatically for you.

If all goes well, you’ll get something like the following:

Successful model upload output

You can now navigate to your dashboard to find the uploaded model!

Uploaded PyTorch model in model list

Uploaded PyTorch model in the model list

Uploaded PyTorch model

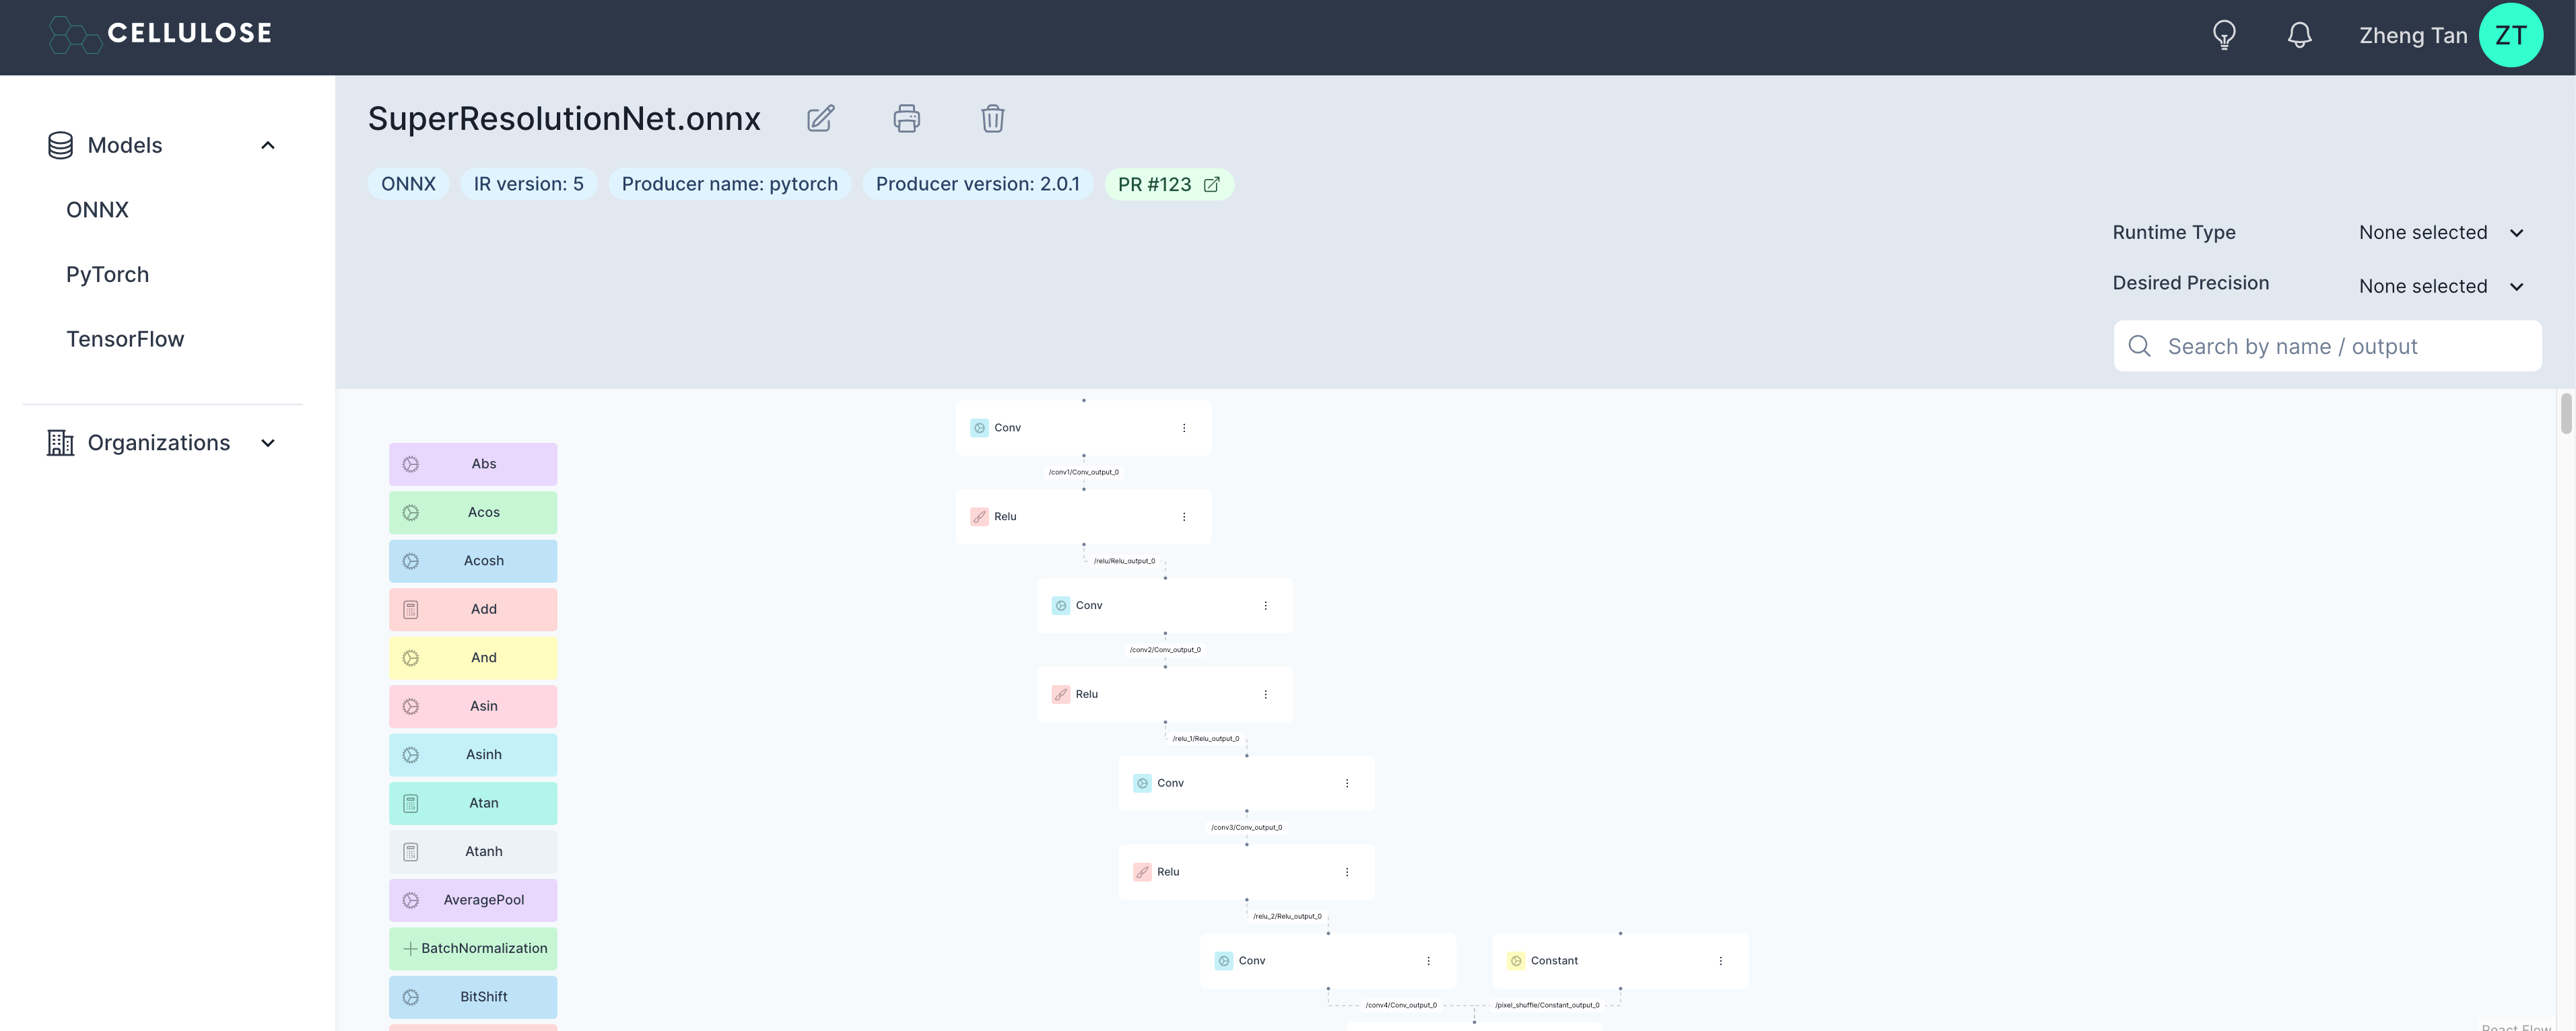
Graph of uploaded PyTorch model

If it didn’t go well, you might get the following:

Failed model upload output

Please reach out to support@cellulose.ai in this case. We’d like to help and get you on your way ASAP!

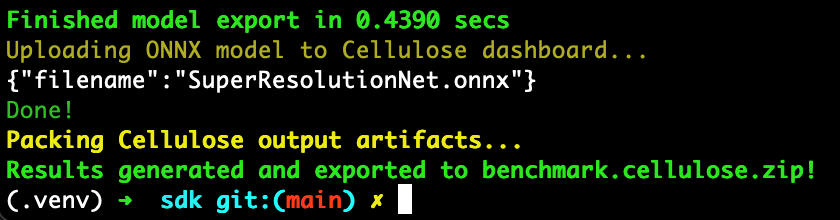
Generate the Cellulose artifact with all exported model assets

The SDK also has a flush method that conveniently packs all the generated ONNX outputs in a zip file.

Generate and save all export artifacts
cellulose_context.flush(name="generated_artifacts", target_directory=".")

The line of code above generates a generated_artifacts.cellulose.zip folder in the “current” directory.

Here are the contents once it is unzipped:

Contents of generated_artifacts.cellulose.zip

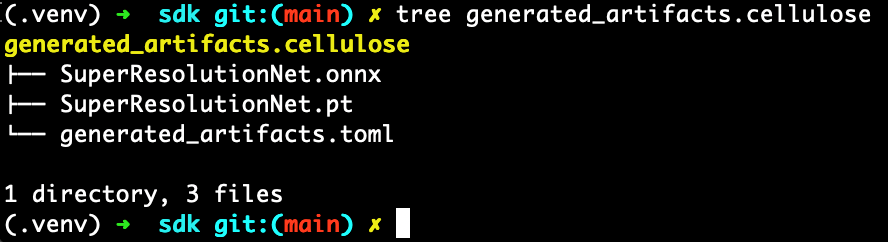
The TOML metadata file is autogenerated and shouldn’t be directly modified. This is mostly useful to us for debugging and diagnostics purposes so we can help you resolve issues quickly if you run into them.

While limited in feature scope today, the Cellulose artifact will play a larger role when interfacing with the larger Cellulose roadmap and future product offerings.

Congratulations! You’ve uploaded your first PyTorch model to the dashboard via the SDK!

For your convenience, the full example Python script is also available here.

Have questions / need help?

Please reach out to support@cellulose.ai, and we’ll get back to you as soon as possible.